
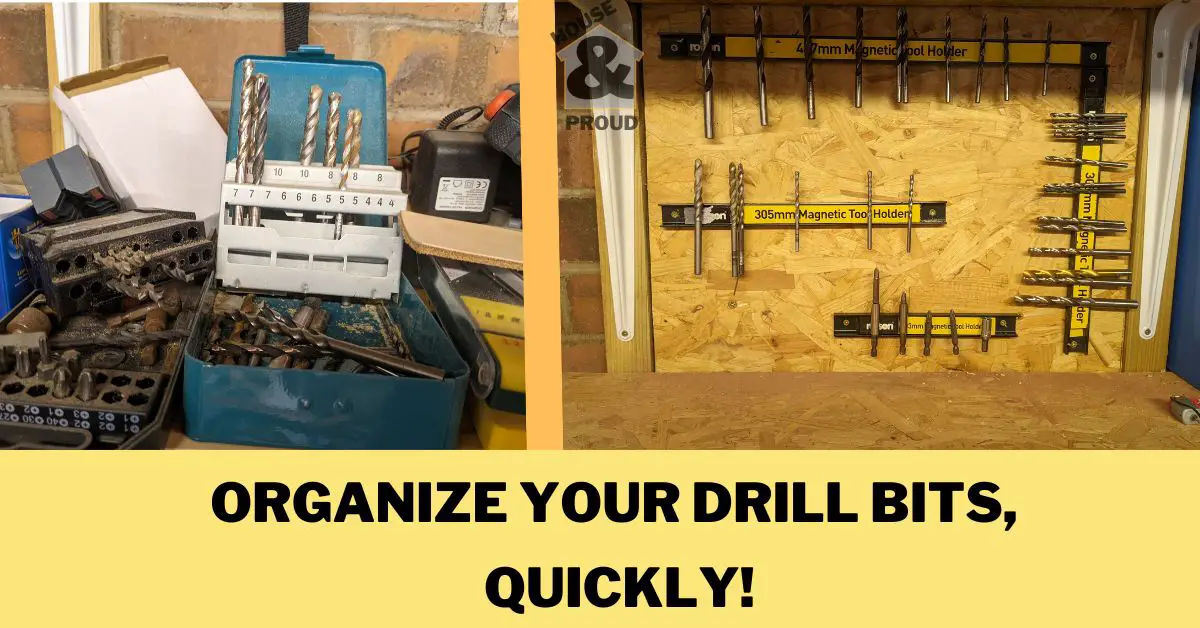

Let’s face it, organizing drill bits is a little bit of a nightmare. I’ve tried many different systems for organizing drill bits over the years, and they’ve boiled down to one central problem: they don’t actually keep me organized!
So, to set about solving the problem of having drill bits scattered all over my garage workshop, I’ve come up with a really simple, straightforward, and fast method of organizing drill bits.
In total, this job took me 7 minutes and 53 seconds (yes I did time myself… I know…)
So without further ado here are some step-by-step instructions that take you through what I did to arrange and organize my drill bits.
Step one: The design
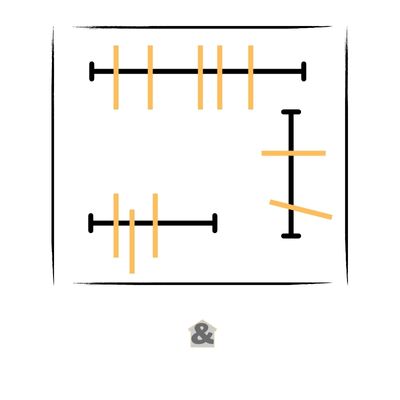
I wanted a garage drill bit system that organized my drill bits in a way that meant they were still easy to access when I was midway through a job.
I’m also shocking at putting things back in their right place, as evidenced by this picture…
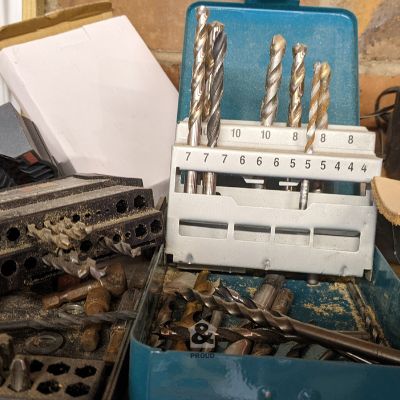
So, for that reason the one requirement for my drillbit system of organization was that the drill bits would have to be easy to access, and put back.
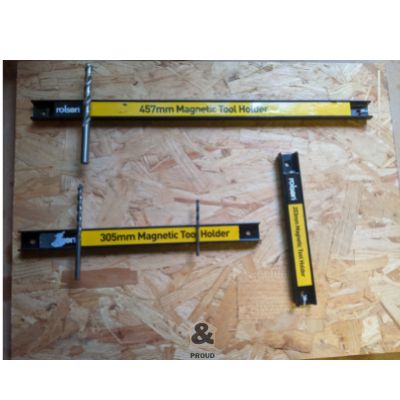
I use magnetic strips to help organize random hand tools like screwdrivers and so on, so I decided to use a new set of magnetic strips to organize my drill bits.
The next problem I thought of was how to label the drill bits by size.
My simple – if inelegant – solution was to mount the magnetic strips on a panel of osb. I could then use a Sharpie to write the sizes on the osb, underneath the magnetic strips.
Then, mount the osb panel to my garage wall.
Now, my garage shelves are made from OSB. So, I mounted the panel at the back of a section of these shelves to make the whole thing look very neat and “swish”.
This has the added bonus of freeing up the shelf space where I was currently hoarding an unorganized collection of bits.
Step two: Tools and materials
So, to make this design a reality, I only needed a few things:
- Magnetic strips – these are the ones I used from Amazon.
- A scrap square of OSB
- A drill and Phillips head attachment
- An 8mm drill bit and four same sized Rawl plugs (for attaching the panel to the wall)
- Some screws
And that’s it.
Told you it was simple.
Step three: Attach the OSB Panel to the wall.
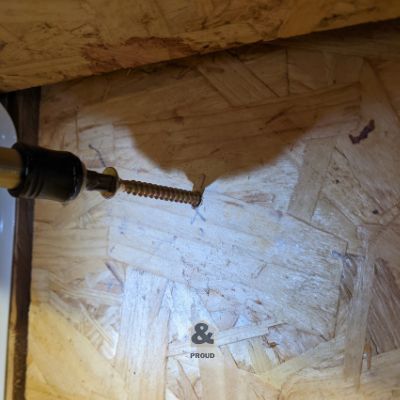
Once you’ve got all of your tools together, it’s time to attach the OSB panel to the wall. Originally, I was just going to do this after I’d attached the magnetic strips, but then I realized I could hide most of the fixing points behind the strips if I attached them afterwards.
So attaching the panel to the wall was really simple.
First, drill pilot holes through your panel.
Then hold the panel to the wall and then drill through the pilot holes to mark drilling points on the wall.
Next, use the correct size masonry bit for your Rawl plugs (I used 8mm), drill into your marking points and push in your Rawl plugs.
Finally, screw through the pilot holes in your panel, into your Rawl plugs.
Done.
Step Four: Mount the magnetic strips on the OSB panel .
I won’t go into that much detail here – it’s really simple.
If you get the magnetic strips that I used, they have fixing points on either end. Simply mark where you want your strips to sit, drill a pilot hole through the fixing holes and then add screws.
Some quick tips:
- When deciding the spacing between the metal strips, stick some drill bits to each strip. This will make sure that you don’t accidentally space them too closely together. I did this before I screwed the panel on the wall to check for spacing.
- If you want the strips to sit level, loosely screw in one side and then stand the board upright and mark the position of the next hole by holding a spirit level on the strip and positioning it horizontally until it’s level. I didn’t do this, as you can see from the picture below… yeah.
- You can use random bits of metal (if you have some) to mark the boundary between different sizes of drill bits.
Ultimately, I decided not to bother labelling up the different sized drill bits. After a bit of a cull of some of my more “well used” bits, I figured that having them arranged in size order was convenient enough for me. But, who knows, maybe one day in the future I will bother to dig out a sharpie and label them up!
Here’s the finished product:

Summary: Using magnetic strips to organize drill bits
I know that this article is short, but hopefully it reflects just how simple a system this is to organize your drill bits.
I’ve been using this organization system for a few weeks now, and it really has made storing my drill bits so much easier.
I find that it’s much simpler to put them back in the right place as there is literally no barrier anymore to doing it.
Before, I would either put the drill bits I was using into a general catch all pile (and then spend ages trying to find the right size) or, I would spend ages trying to put everything back in a moment of wanting to organize things.
Now, I’m able to go into the garage, and easily spot which drill bit I need without any hassle!
Hopefully this proves useful to at least one other person out there – I know that I’d searched for a while for this type of solution and couldn’t find anything that didn’t require at least a whole afternoon of work.
If you’re interested in other DIY garage projects, why not check out my other Garage DIY articles?
Thanks for reading, Bert.